Advertisement
Transform Your Bundt Cake Pan Into an Amazing DIY Thanksgiving Centerpiece
By David Clarke
3 min read
Advertisement - Continue reading below


Thanksgiving is meant to be a time to enjoy the company of loved ones around a beautifully set table with the foods we’ve been waiting to indulge in all year long. We all look forward to relaxing with each other and taking some time off of work and chores to sit back and unwind.
More often than not, Thanksgiving turns into a frenzied time. We are so busy prepping, cleaning and cooking we can’t even enjoy the holiday. And if you are responsible for hosting, this also includes setting the table and creating a warm space for people to gather. Unfortunately, once the prep work is done, the meal has been prepared, and the guests are eating, we are often too tired to appreciate it.
So let us help you out with an easy way to create a beautiful centerpiece that will have everyone talking, and leave you to do more important things, like being the quality control expert for the freshly baked cookies. The rustic style will go well with any decor. You can even get creative and go off-book to really make it a meaningful piece. For example, you can go with a brown and gold color scheme instead of orange and gold, or try adding some freshly cut flowers in the middle of the pumpkin for a clean, contemporary look.
Whatever you decide to do, this festive and simple DIY pumpkin centerpiece will help you set a beautiful table with ease and reuse it for years to come!

Here are the materials:
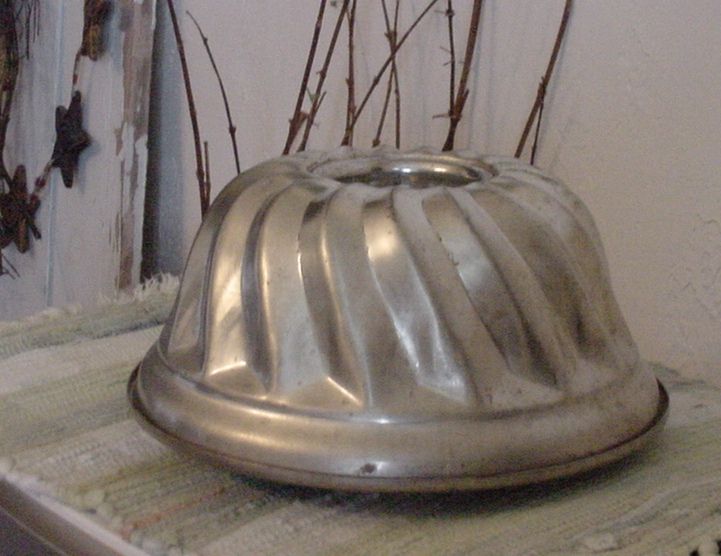
- Bundt Pan
- Acrylic paint in burnt orange and gold
- Burlap
- Twine
- Mod Podge
- E6000 glue
- Scissors and sponge brush

The first thing you want to do is set the pan upside down on a piece of newspaper or a surface you don’t mind getting paint on. Then, just paint a good coat of the orange all over it. You may need a couple coats to get an opaque, even color. Once it’s dry, take a small amount of the gold paint and use a technique called dry brushing on the pan. For this, you will want to quickly swipe across the top and sides of the pan in order to just highlight with the gold, not cover the whole pan.
Once the painting is complete, you will move on to designing your leaves. First, cut some leaf shapes from the burlap. Then, with your sponge brush, dab a small amount of Mod Podge all over one leaf. Shape it to the look you like and let it dry. Continue this process for the rest of your leaves.
In order to make a curly stem for the pumpkin, take a piece of twine and paint on Mod Podge with the sponge brush. Curl it around a pencil and set it aside to let it dry.
Once all your pieces are dry, take each one, starting with the stem, and carefully glue it to the inside of the pan.

After completing this last step, give yourself a pat on the back! You’ve just made a delightful, little pumpkin to use as the centerpiece to your holiday festivities. The best part is that its is adaptable to use for other things as well!
Now sit back, relax, have some pumpkin pie, and enjoy this time with family and friends!
To watch the video and see how it’s done, click here.
Advertisement - Continue reading below


